Understand Nodes: The Building Blocks of Flows
Nodes are the fundamental building blocks of every flow in Sequence Studio. Each node performs a specific function—like sending a message, waiting for a reply, or making a decision—and by connecting them, you create powerful, interactive conversations.
If you're new to flows, check out Build Flows first for a step-by-step guide to creating and connecting nodes. This page dives deeper into what each node does and how to use them. For advanced logic, see Conditions & Logic next.
What Are Nodes?
A node represents a single step or action in your assistant's flow. By combining different node types, you can:
- Send messages
- Collect information
- Make decisions
- Call APIs
- And much more
Node Types and When to Use Them
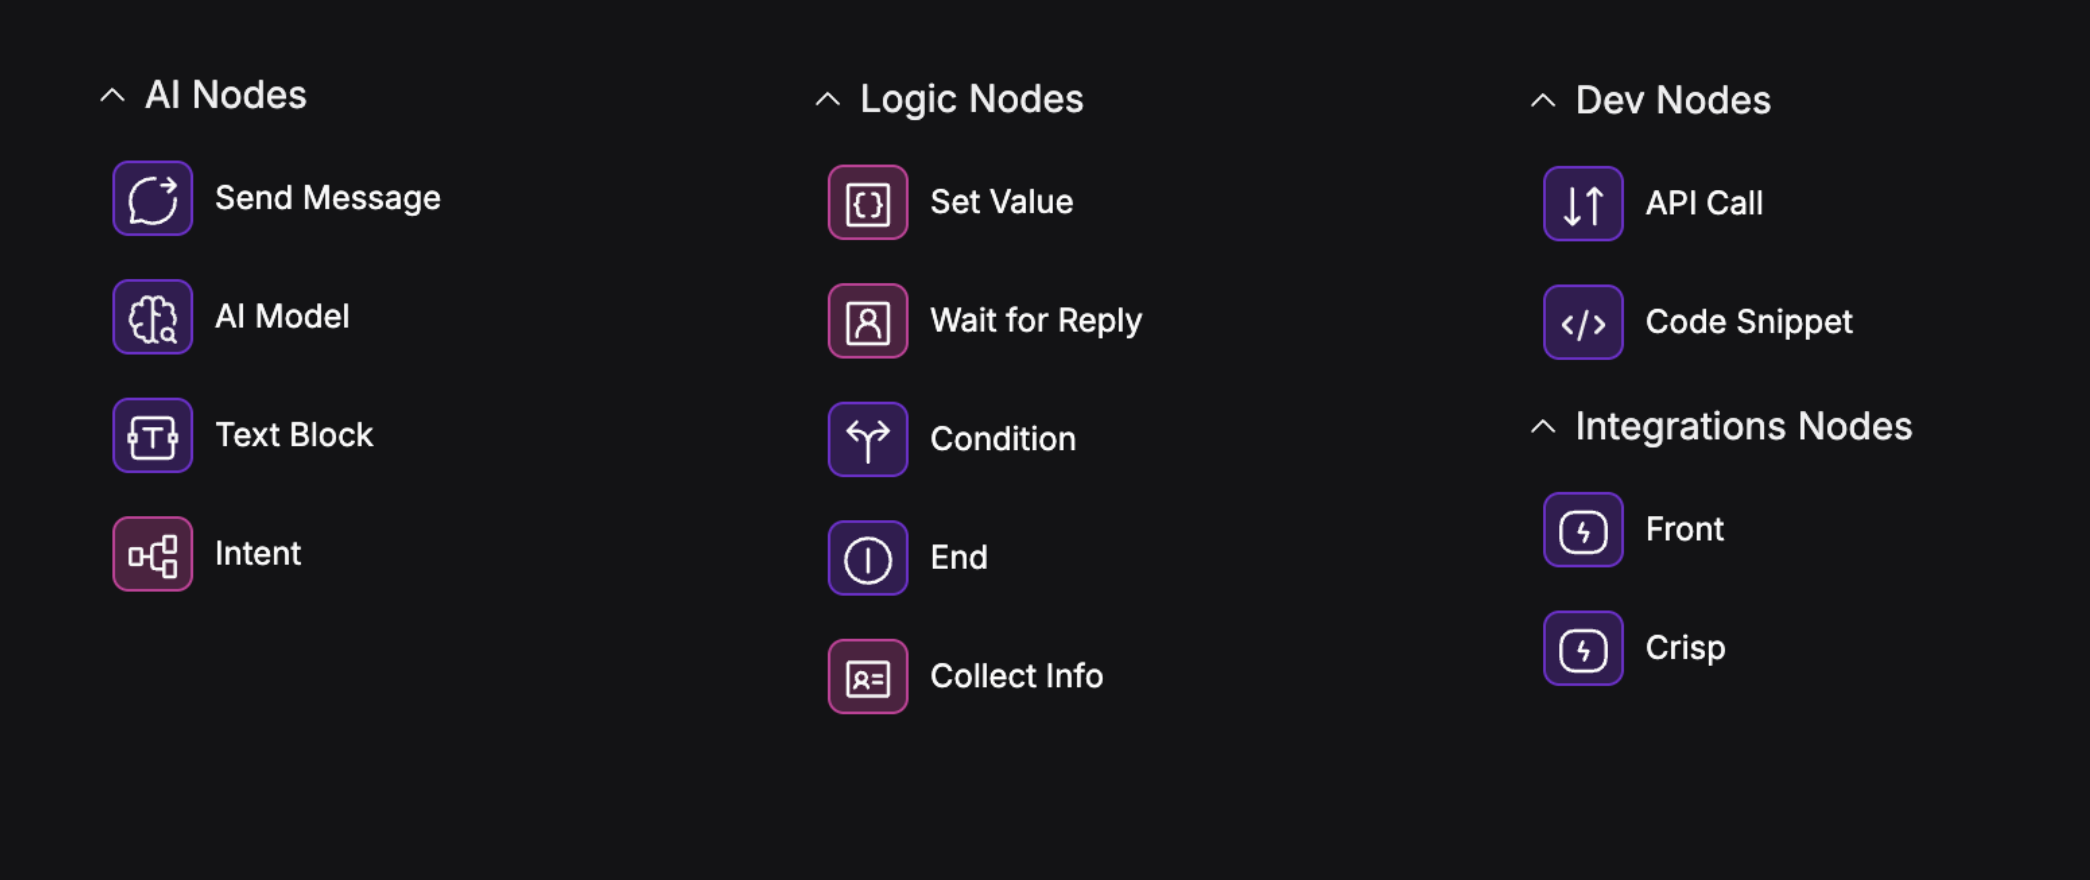
Text Block Node
- Purpose: Outputs a static text block.
- When to use: Any time you want to explicitly write a certain message to the user.
- Example: "Welcome to PizzaBot! How can I help you today?"
AI Model Node
- Purpose: Outputs a text block generated by an AI model.
- When to use: Any time you want your assistant to say something—greetings, instructions, confirmations, etc.
Send Message Node
- Purpose: Sends a message to the user consisting of the output of the previous node.
- When to use: Directly after a Text Block, AI Model, or other node to send a message consisting of its output.
Wait for Reply Node
- Purpose: Pauses the flow and waits for the user to respond.
- When to use: Whenever you need input from the user before continuing.
- Example: "What would you like to order?"
Set Value Node
- Purpose: Stores information (like user input) in a variable.
- When to use: When you want to remember something the user said, or set a value for later use.
- Example: Save the user's name or choice.
Condition Node
- Purpose: Branches the flow based on variable values (if/else logic).
- When to use: When you want to take different actions depending on what the user said or did.
- Example: If the user is a new customer, show onboarding; otherwise, skip ahead.
- See Conditions & Logic for advanced branching techniques.
Intent Classify Node
- Purpose: Uses AI to figure out what the user wants (their "intent") and route the conversation accordingly.
- When to use: For open-ended questions, or when you want your assistant to handle multiple topics flexibly.
- Example: Route to "Order Pizza", "Check Order Status", or "Ask a Question" based on what the user types.
- See Conditions & Logic for more on intents and smart branching.
Other Useful Nodes
- Collect Info: Sends a form to the user to collect information like phone number, name, date, etc.
- Code Snippet: Run a snippet of Javascript code.
- API Call Node: Connect to external services or databases.
- End Node: Mark the end of a flow or conversation.
- Front: Integrate with Front live chat
- Crisp: Integrate with Crisp live chat
How to Choose the Right Node
| If you want to... | Use this node |
|---|---|
| Say something to the user | Text Block |
| Say something to the user | AI Model |
| Wait for user input | Wait for Reply |
| Remember what the user said | Set Value |
| Take different paths based on data | Condition |
| Route by user intent (AI) | Intent |
| Collect information from the user | Collect Info |
| Run a snippet of code | Code Snippet |
| Call an external API | API Call |
| End the conversation | End |
| Integrate with Front | Front |
| Integrate with Crisp | Crisp |
Tips for Using Nodes Effectively
- Keep flows simple: Start with a few nodes, then add complexity as needed.
- Use variables: Store important info for use later in the flow.
- Test each branch: Try different user inputs to make sure all paths work.
- Label/comment: Use node labels or comments to keep your flows organized.
With a solid understanding of nodes, you can build powerful, flexible flows that handle any conversation scenario. Next, try building your own flow or explore advanced logic in Conditions & Logic.